
Popcorn ceilings were once the height of interior design fashion, lending texture and a sense of warmth to homes across America. However, as the years have passed, many homeowners have come to see these once-popular ceilings as outdated and difficult to maintain. If you’ve ever tried to dust or paint a popcorn ceiling, you know the frustration that comes with it.
Popcorn ceiling removal is the process of scraping away the textured material from your ceiling, leaving a smooth, even surface behind. This process not only improves the aesthetic appeal of your home but also increases its market value. Popcorn ceilings, also known as acoustic ceilings, were originally designed to reduce noise and hide imperfections, but their rough surface can trap dust and cobwebs, making them a less desirable feature in modern homes.
Removing popcorn ceilings can seem like a daunting task, but with the right knowledge and tools, it doesn’t have to be. If you’re staring up at your own ceiling, wondering if it’s time for a change, you’re not alone. Many homeowners across the country are opting to remove their popcorn ceilings for a more modern, fresh look. Knowing the ins and outs of popcorn ceiling removal can help you make an informed decision about your home.
Why Should You Remove Popcorn Ceilings?
There are several compelling reasons to remove popcorn ceilings in your home:
- Modern Aesthetics: Popcorn ceilings can make a room feel dated. By removing them, you create a clean, contemporary look that appeals to modern tastes.
- Health Concerns: Popcorn ceilings are notorious for trapping dust, allergens, and even asbestos in older homes. Removing them can improve indoor air quality.
- Increased Home Value: Homebuyers today prefer smooth ceilings, so removing popcorn ceilings can make your home more attractive on the market.
- Easier Maintenance: Without the rough texture, your ceilings will be easier to clean and repaint.
How to Remove Popcorn Ceilings: A Step-by-Step Guide
If you’re considering tackling this project yourself, here’s a basic overview of the steps involved:
- Prepare the Room: Start by removing all furniture and covering the floors with plastic sheets. Be sure to protect your walls and any fixtures with painter’s tape.
- Test for Asbestos: If your home was built before the 1980s, it’s crucial to test a small section of the ceiling for asbestos before proceeding.
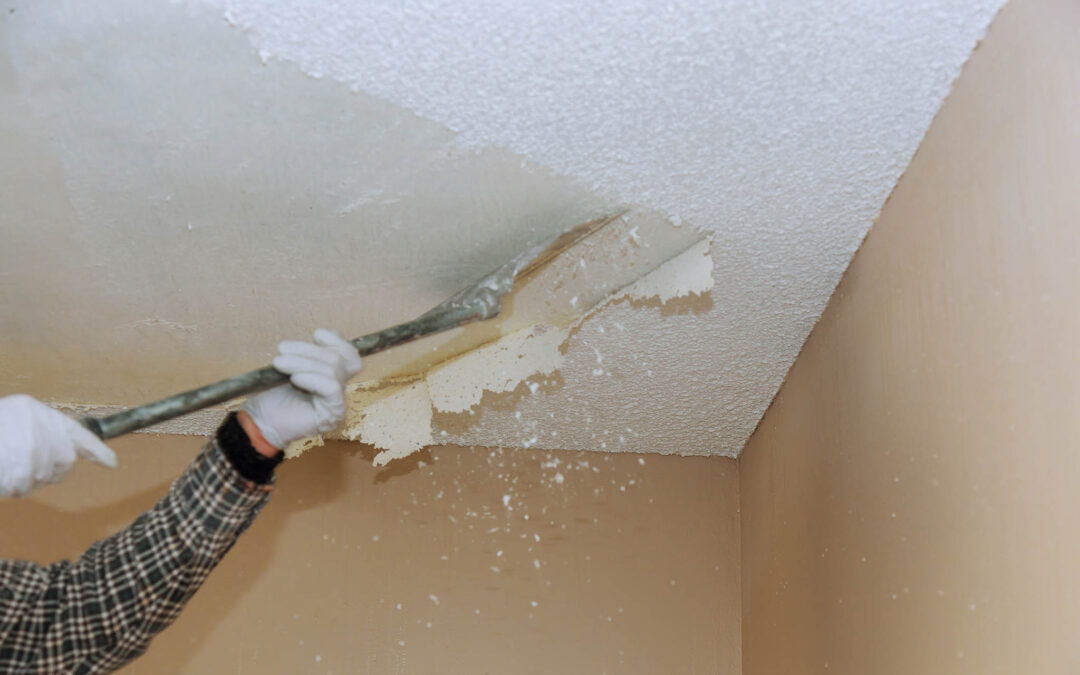
- Wet the Ceiling: Lightly spray the ceiling with water to soften the texture. This will make scraping easier and reduce dust.
- Scrape the Ceiling: Using a wide putty knife, carefully scrape the popcorn texture off the ceiling. Be patient, as this step can be time-consuming.
- Sand and Smooth: Once the texture is removed, sand the ceiling to achieve a smooth surface, then apply a primer and paint. An electric drywall sander with a vacuum is going to be the fastest and least messy way to do this.
This process can be labor-intensive and messy, so many homeowners opt to hire professionals to ensure a flawless finish. If you’re considering professional help, the house painters at All Star Painter can take care of the entire process for you.
Common Challenges in Popcorn Ceiling Removal
While the steps might seem straightforward, there are some common challenges you might face during popcorn ceiling removal:
- Dealing with Asbestos: Asbestos is a serious health risk, and its presence can complicate the removal process. If your ceiling contains asbestos, it’s best to hire a professional for safe removal.
- Uneven Ceilings: Once the popcorn texture is removed, you might discover that your ceiling isn’t as even as you’d like. This can require additional sanding or even drywall work to achieve a smooth finish.
- Mess and Cleanup: Removing popcorn ceilings creates a significant amount of dust and debris. Proper preparation and cleanup are essential to avoid spreading the mess throughout your home.
Understanding these challenges can help you decide whether to proceed with a DIY approach or hire a professional service.
What to Do After Removing Popcorn Ceilings?
After successfully removing your popcorn ceilings, it’s time to think about the next steps:
- Prime and Paint: Once the ceiling is smooth, apply a primer to prepare the surface for painting. After priming, you can choose a paint finish that complements your home’s interior style.
- Consider Recessed Lighting: With the popcorn texture gone, you have the perfect opportunity to install modern lighting options like recessed lights.
- Decorate: A smooth ceiling opens up new possibilities for decorating, such as adding crown molding or other ceiling treatments.
The removal process might seem like a small change, but it can have a big impact on the overall look and feel of your home. Plus, the fresh, smooth surface is easier to maintain and repaint in the future.
How Much Does Popcorn Ceiling Removal Cost?
The cost of popcorn ceiling removal varies depending on several factors, including the size of your home, the condition of your ceilings, and whether or not asbestos is present. On average, homeowners can expect to pay between $1 to $2 per square foot for the removal process. However, this cost can increase if your ceiling contains asbestos, as you’ll need to hire a licensed professional for safe removal.
Other factors that can affect the cost include:
- The height of your ceilings: Taller ceilings require more time and effort to remove the texture.
- The complexity of the ceiling: Ceilings with lots of angles or obstructions may cost more to remove the popcorn texture.
- The need for repairs: If your ceiling has water damage or cracks, additional repairs will increase the overall cost.
If you’re getting a painting quote, be sure to clarify popcorn ceiling removal is factored into the interior house painting costs before going ahead.
Can I Remove Popcorn Ceilings Myself?
Yes, popcorn ceiling removal can be a DIY project, but it’s important to approach it with caution. If your ceiling was installed before 1980, it’s essential to have it tested for asbestos before beginning any work. Asbestos removal requires professional handling to avoid serious health risks. If your ceiling is asbestos-free, you’ll need to prepare the room by covering floors and walls, wetting the ceiling to soften the texture, and carefully scraping it away.
However, there are some downsides to attempting this project on your own:
- Time-Consuming: Removing popcorn ceilings can be a labor-intensive and messy job, especially if you have a large area to cover.
- Potential for Damage: Inexperienced DIYers may accidentally damage the ceiling, leading to costly repairs.
- Finishing Work: After removal, the ceiling will need to be sanded, primed, and painted to achieve a smooth finish. This step can be challenging for beginners.
If you’re considering a DIY approach but aren’t confident in your skills, it may be worth hiring a professional to ensure the job is done correctly.
Removing popcorn ceilings is a home improvement project that can dramatically enhance the look of your home. Whether you’re aiming for a more modern aesthetic, concerned about potential health risks, or simply looking to boost your home’s value, this project is worth considering. If you’re in Kendall, Doral, Riverview, Ocala or any corner of Florida, All Star Painter has professional painters ready to help you transform your ceilings and more. Contact us today to get started on your ceiling makeover!
Related Posts
 Can You Paint Soffit? A Guide to Painting Soffits for a Perfect Finish
 Boosting Your Home’s Value Through Painting: Insights And Tips
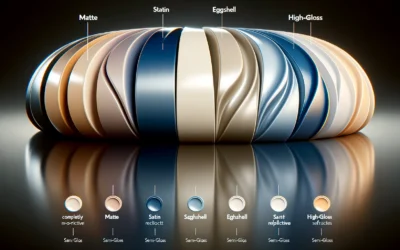 Discover The Perfect Paint Finish Type For Your Space
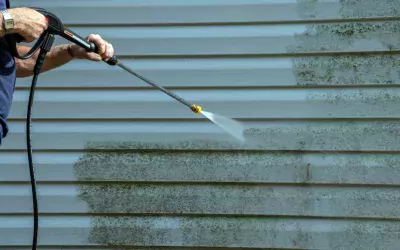 How Much Does It Cost to Pressure Wash a House in Florida?
 Paint Calculator: How Much Paint Do I Need?
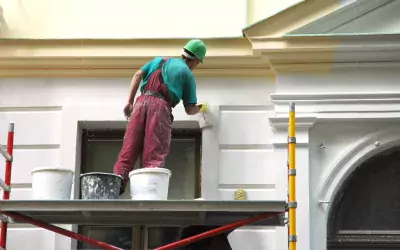 Exterior House Painting Costs In Florida